Getting started with Print&Go Projects
Maximum productivity by eliminating delays, promptly addressing stalls, and preventing material waste.
ON THIS GUIDE
Introduction to Projects.
3 steps to set up your Print&Go Project
Define the project according to the client or objective.
Management of existing projects: visualization and progress tracking.
Connect with your others factories.
FAQs and problem resolution.
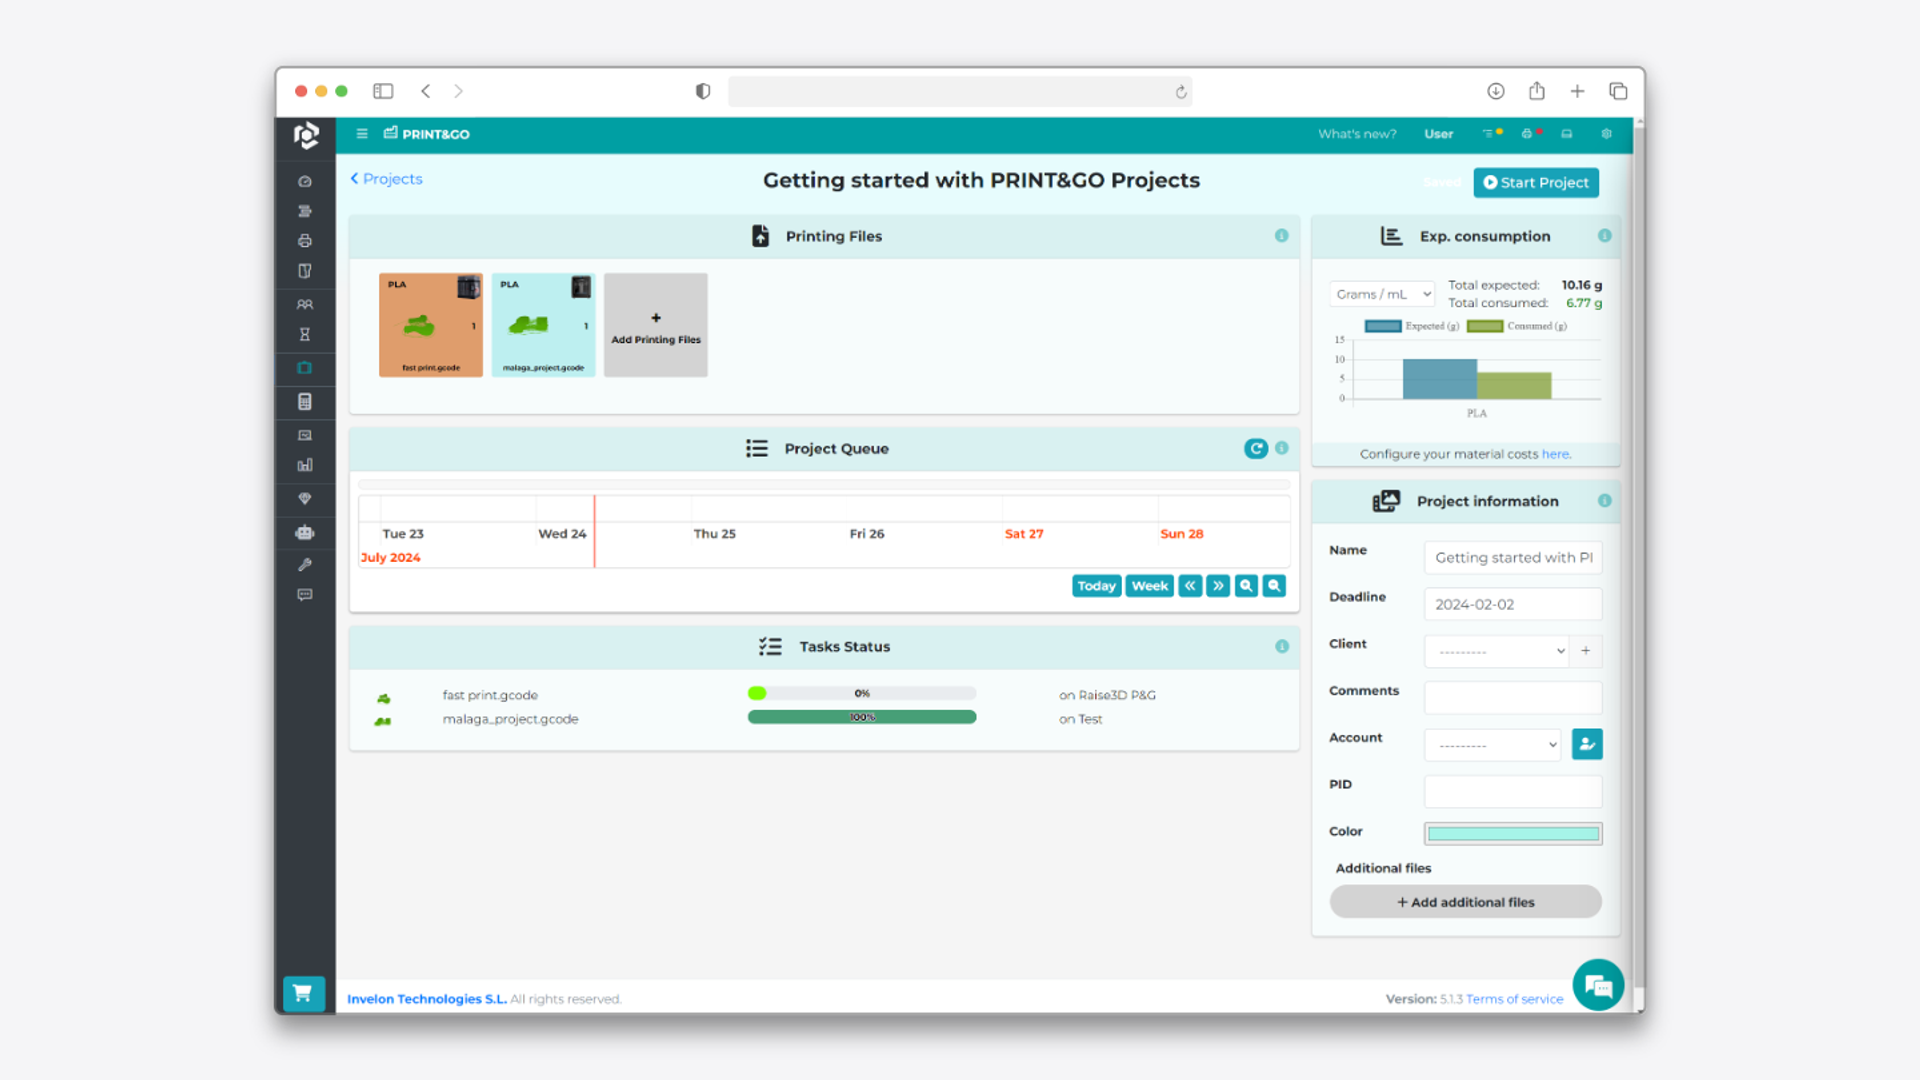
Introduction to Print&Go Projects
Projects is a functionality of Print&Go designed to facilitate the management of multiple 3D printing files. With this tool, you can upload several files that will be automatically assigned to the 3D printers connected to Print&Go. Additionally, you will be able to know the necessary material for the models you have added.
During the creation of a project, you have the option to set a deadline, allowing the printing times to automatically adjust to the assigned due date. Finally, you can customize your projects by specifying details such as the client it is aimed at, for better organization and tracking.
Projects also allows you to monitor progress in real-time, and you can modify the project while it is in progress to make changes or add more files.
In this guide, you’ll learn how to get started with Projects and some valuable tips and tricks.
3 steps to set up your Print&Go Project
It will only take three simple steps to get started with Print&Go Project.
1. Click on the +New button on the dashboard and select Create project option.
2. Add printing files: Select the file you want to print and define how many copies you need. We are compatible with the follow file formats:
- .gcode
- .ufp
- .3mf
- .makerbot
- .zcodex2
3. Personalize the project: Write information about the project.
4. Start the project: Click on the Start project option to being the project.
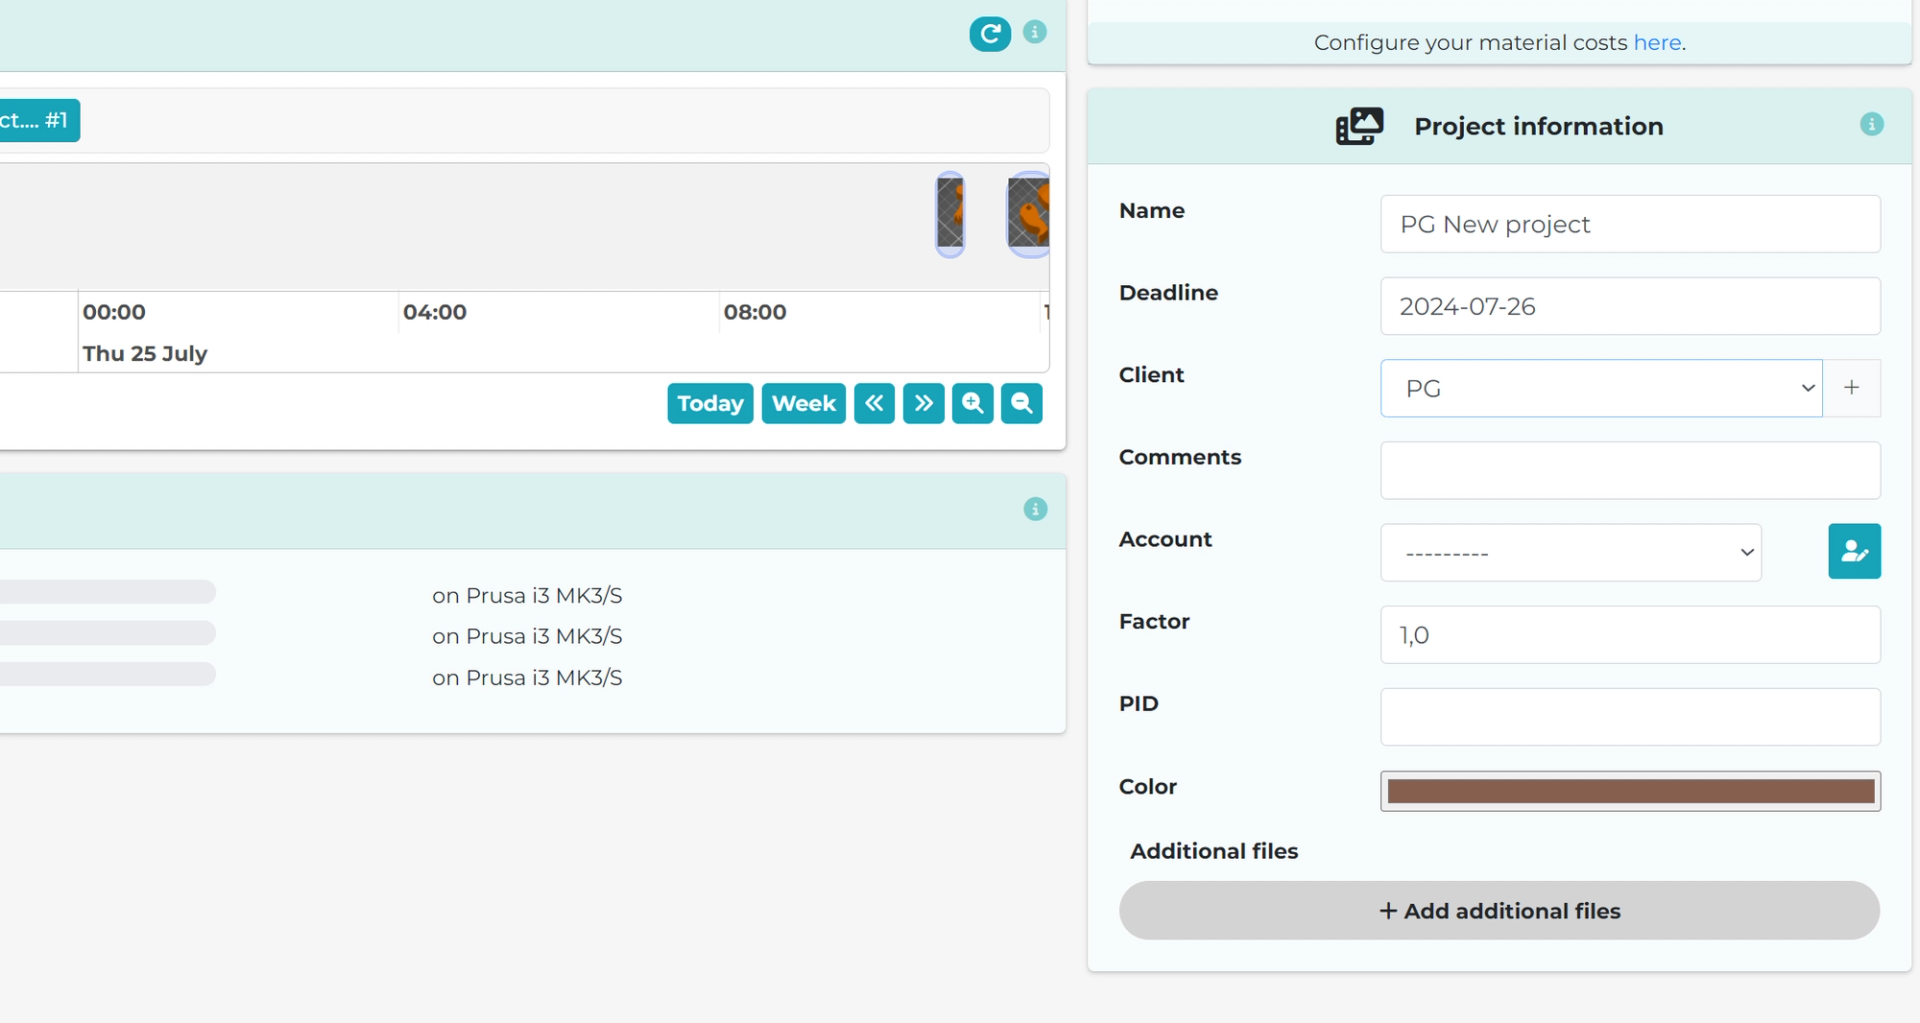
Define the project according to the client or objective
Define the projects to make them easier to identify. In the Project Information section, you can add the necessary information to give everyone context about each project, such as:
- Project name
- Deadline
- Client
- Project comments.
- Color differentiation.
- Additional files, like PDF or images, where you can define better the project objective.
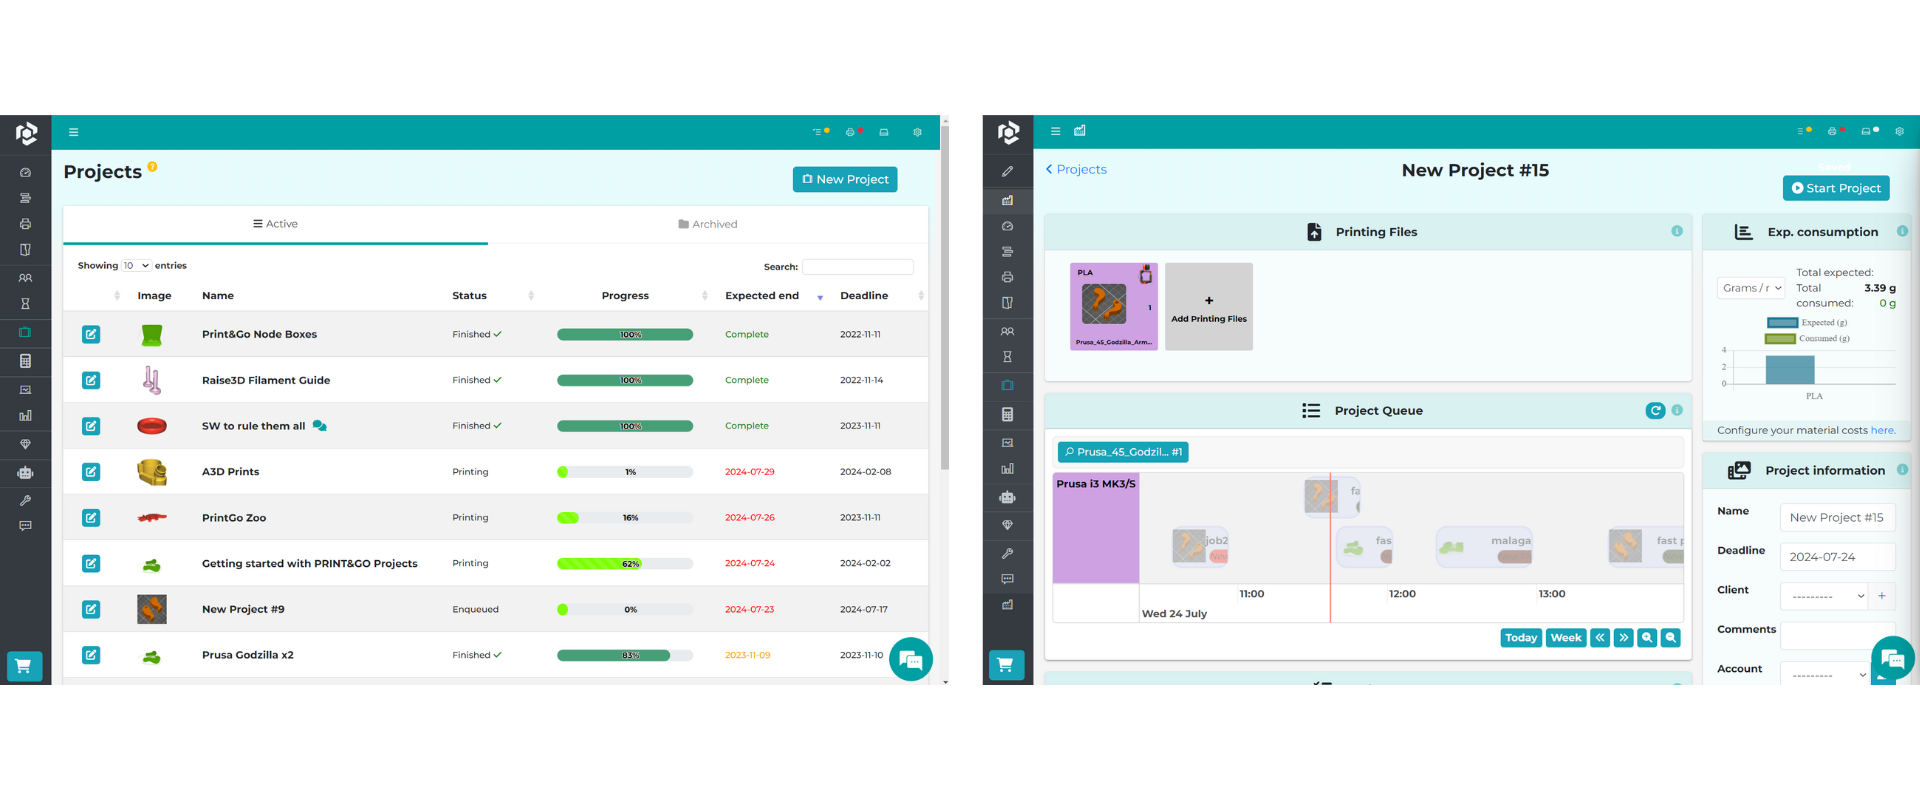
Management of existing projects: visualization and progress tracking
Check the progress of each of your projects by going to the Projects page, where you can see the percentage of completion of each project.
If you need more details about the status of the project, you can access the specific project to see the status of the project queue. This will tell you which files have been printed, which will be printed in the next few days, and which printers they'll be printed on.
If you need to add more models for printing or make any changes, you can do so at any time.
Connect with your other factories
If you have more than one factory, you can share the project with others, no matter where they are. You can then work together on production.
To share the project, activate the option located in the Project Information section and select the factories you want to share the project with.